Using Custom Fields
Custom field basics
- A Facebook or Instagram profile link
- A fax number
- A booking or reservation link
- The name of a manager or representative
How custom fields appear
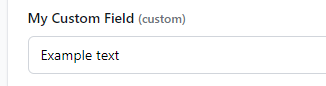
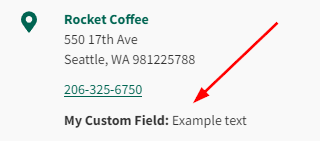
Text (single-line)
The custom field will show a single line of text, labelled with the field name:
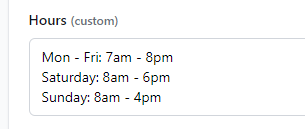
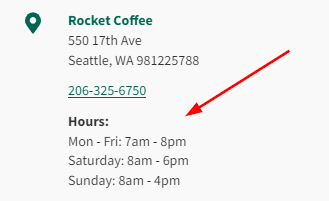
Text (multi-line)
The custom field will show text including any line breaks, labelled with the field name:
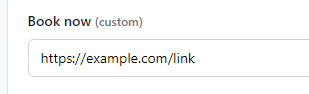
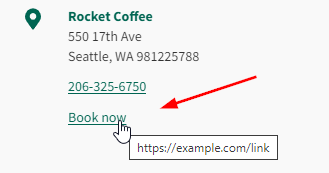
Link
The custom field will show a link. The field name will show as the link text, and you can specify a separate URL for each store to be the link destination:
Common tasks
Create a field
To create a custom field in your account, open the Settings > Custom Fields page of the Stockist dashboard, then click Add custom field and fill out the form that appears:

In the Field name box, enter the name for the field that will appear to visitors on your map. Under Field type, choose how the field should display (see the examples earlier in this article). In the Visibility section, choose whether the field should appear to visitors or remain hidden for now:

Re-order fields
To change the display order of your fields, open the Settings > Custom Fields page of the dashboard and drag-and-drop the handle of the field you'd like to move:

Set the field value for a location in the dashboard
Once a custom field has been created, you can set the value for any or all of the stores in your account. When adding or editing a store, a box will appear for each custom field where you can enter the relevant text or URL:

Set field values in bulk when importing a spreadsheet
For example, if you had custom fields called "My Custom Field" and "Book now", your spreadsheet might look like this:

When importing your spreadsheet in the app dashboard, on the Identify Columns step, be sure the columns in your file are set to import to the relevant fields in Stockist:
